Doing a Debian net install is incredibly easy (and fast), so much so that once you’ve done it a number of times, it’s easy to forget that if you’ve never done it before, and your knowledge isn’t quite there yet, there are a number of things you may not be sure of, and might even get confused by (at least I did).
The general consensus is that beginners should stay away from distros that lets you build everything from the ground up, and stick to the preconfigured ones like Ubuntu. Fair enough, but the best way to gain knowledge is by actually trying things out, so here we are. Now, this guide does assume that you already know how to get your hands on a Linux distribution’s iso, how to put it on a flash drive, and how to boot from it, though. So I’ll start right at the point where you’re booted into the live iso. And it starts now.
Note: If you just want to test out the installer without wiping your main system, you can do this in a virtual machine, or an old computer, first. If you do this on bare metal, always remember that this will wipe your HDD/SSD, so backup your data first.
Note 2: I suggest reading the whole guide before starting the process.
Note 3: This concerns only the base install process. Post-installation configuration would be a guide onto itself. I will make a beginner’s guide on installing and configuring Openbox sooner rather than later, though.
- Okay, because I’m nice, here is where to get the Debian netinst iso: https://www.debian.org/download
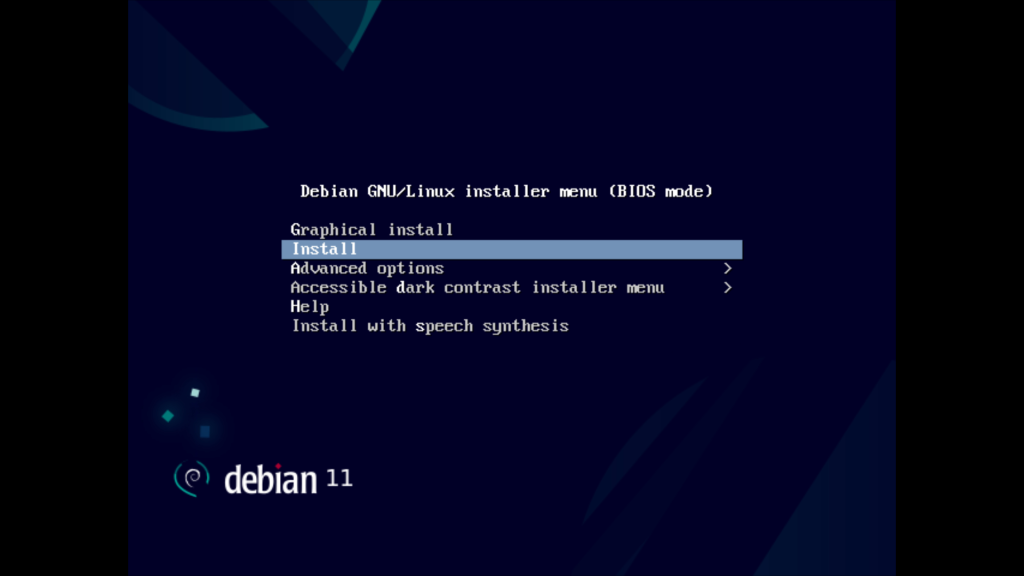
- Once the iso has been put on a flash drive and you’re booted into it, use the down arrow key to drop to the second “install” option and press Return (aka Enter). We’re using the ncurses installer here, because it’s the best, simple as that.
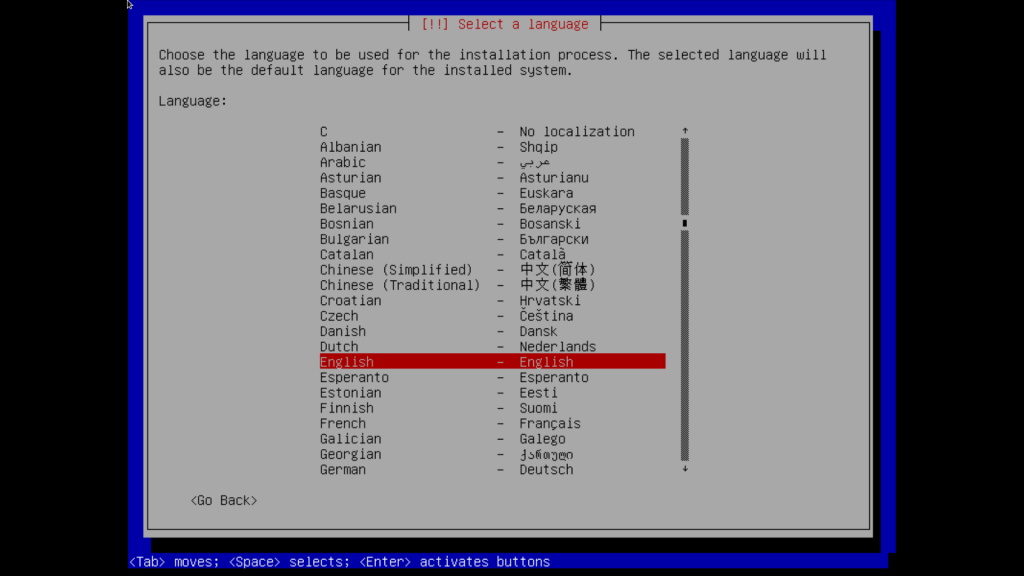
- At the first screen, select your language and hit Return. Hint: whenever you want to switch to Go Back or Next, you use the tab key to highlight them, and the left or right arrow keys to select either one of them.
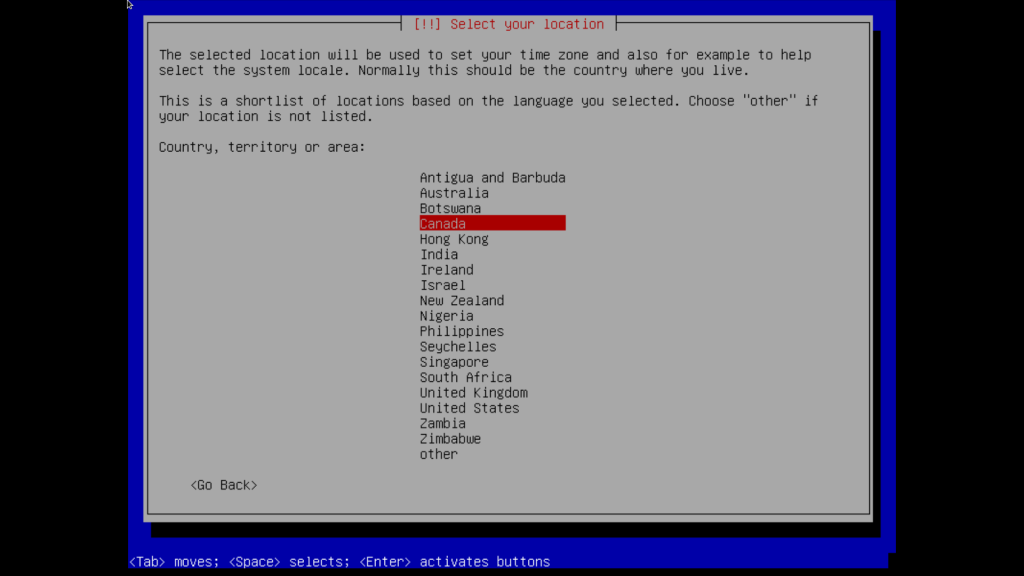
- Next, select your location.
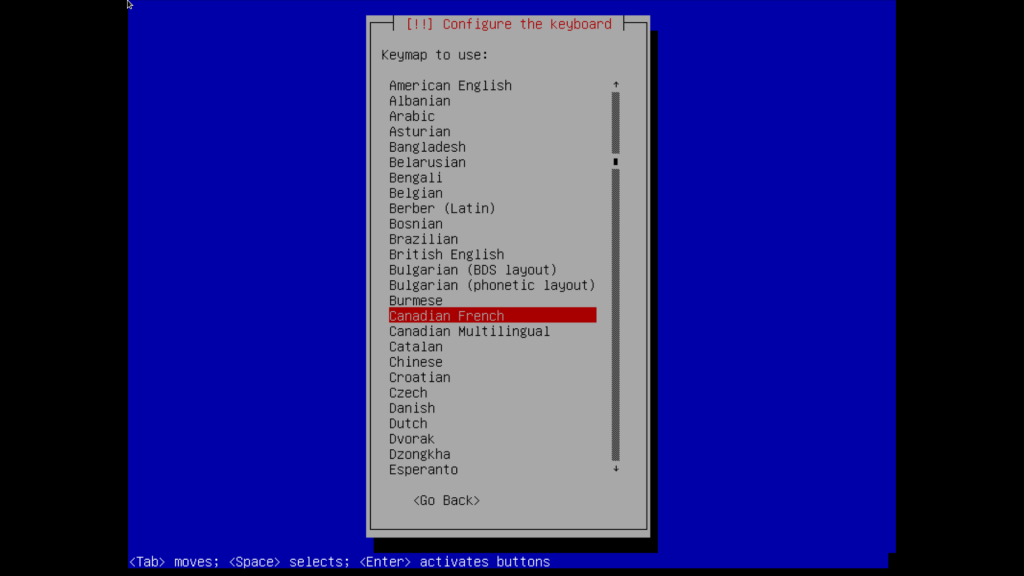
- Then, your keyboard layout.
- The installer will load additional components and automatically configure the network.
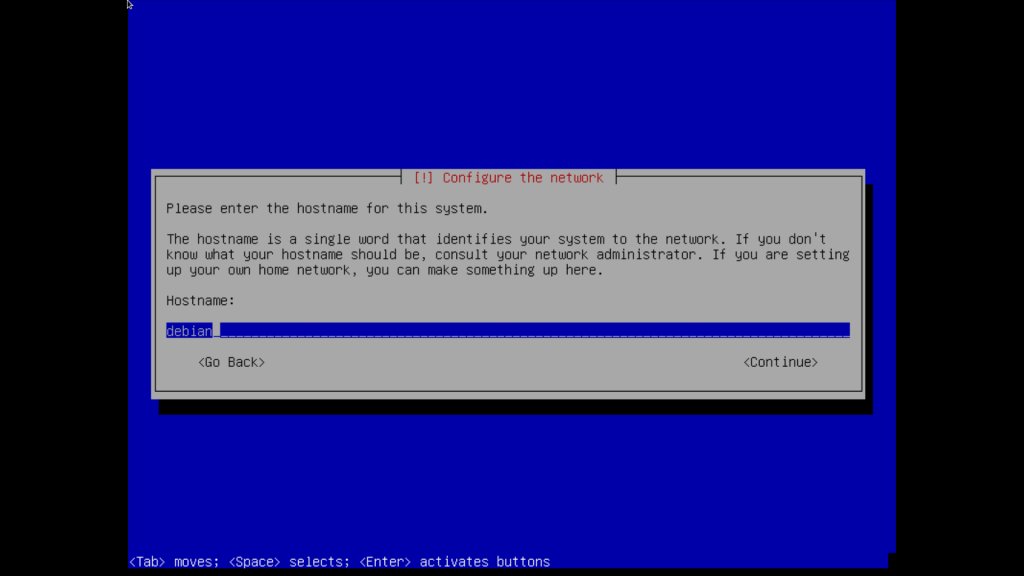
- Choose a hostname. This can be whatever you want.
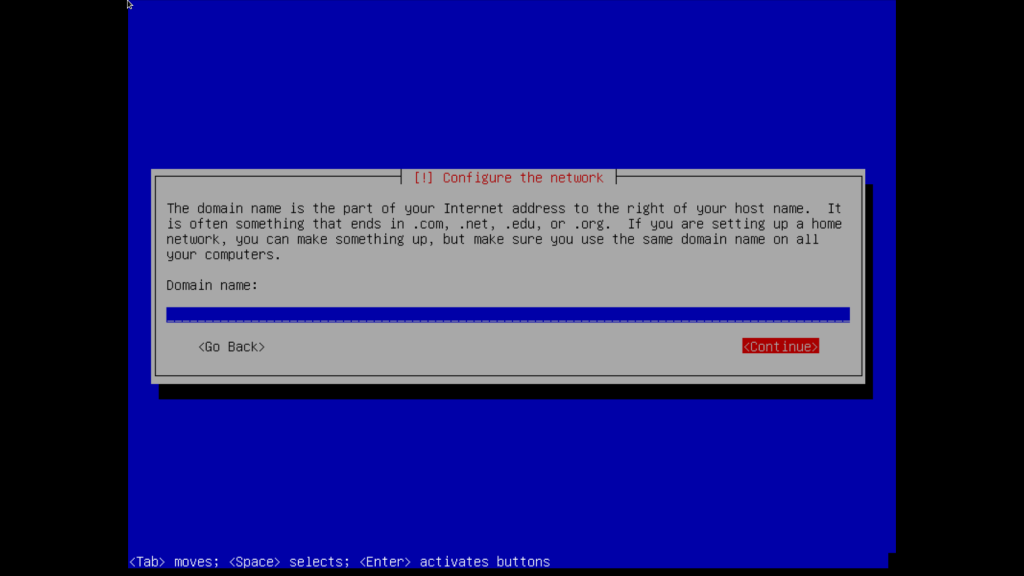
- Skip the domain name by leaving it empty.
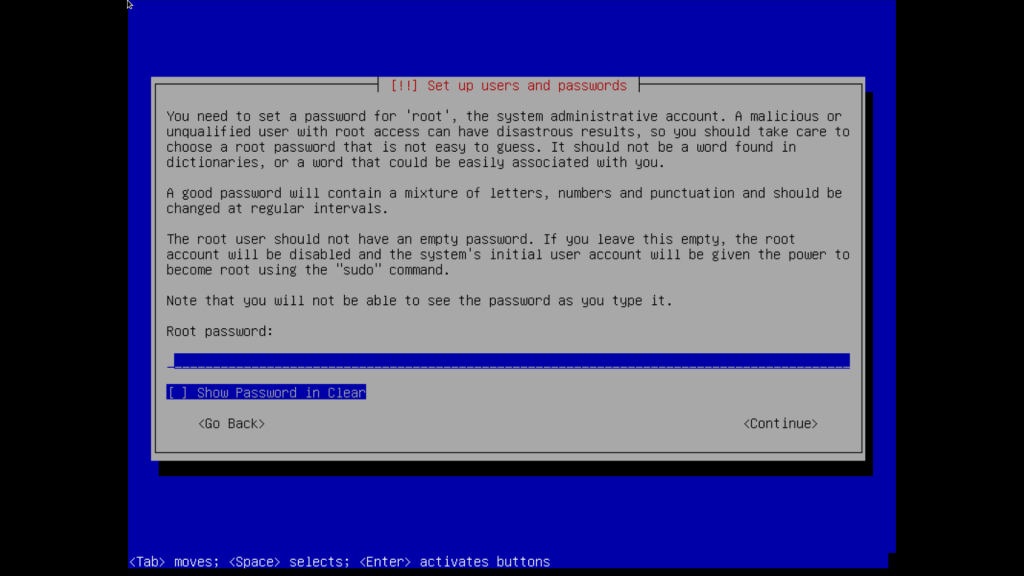
- You’ll be asked to enter a root password. First thing to take into consideration is sudo usage. A simple way of having sudo installed and pre-configured is to leave the root password empty (there won’t be any root account). If you’re going to use doas instead of sudo, you need to setup a root password, because without a root account, you won’t be able to install or configure doas. You won’t even be able to install any package, or run any command that requires root privileges either. If you have no idea what I’m talking about, just skip the root password and don’t think twice.
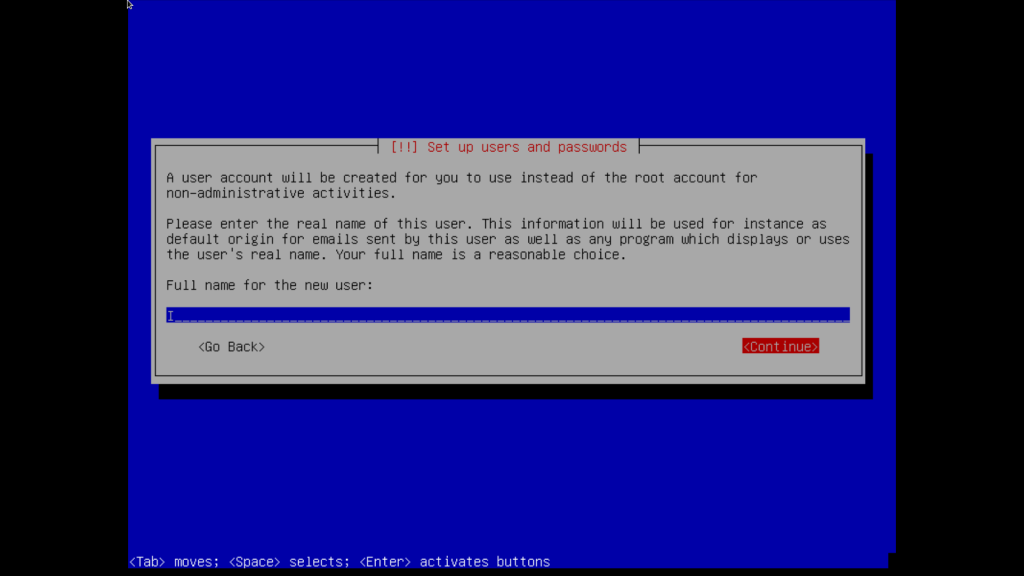
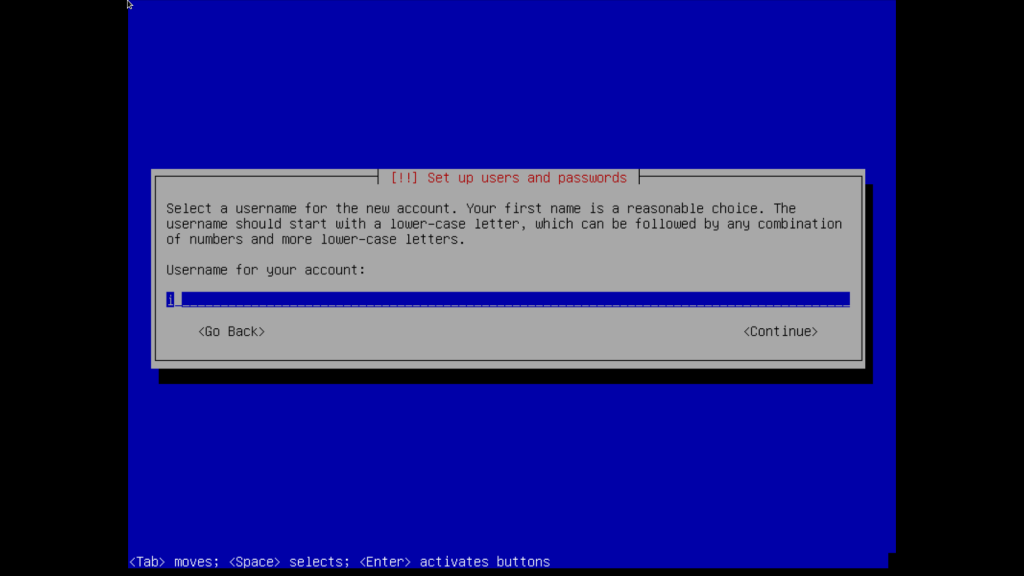
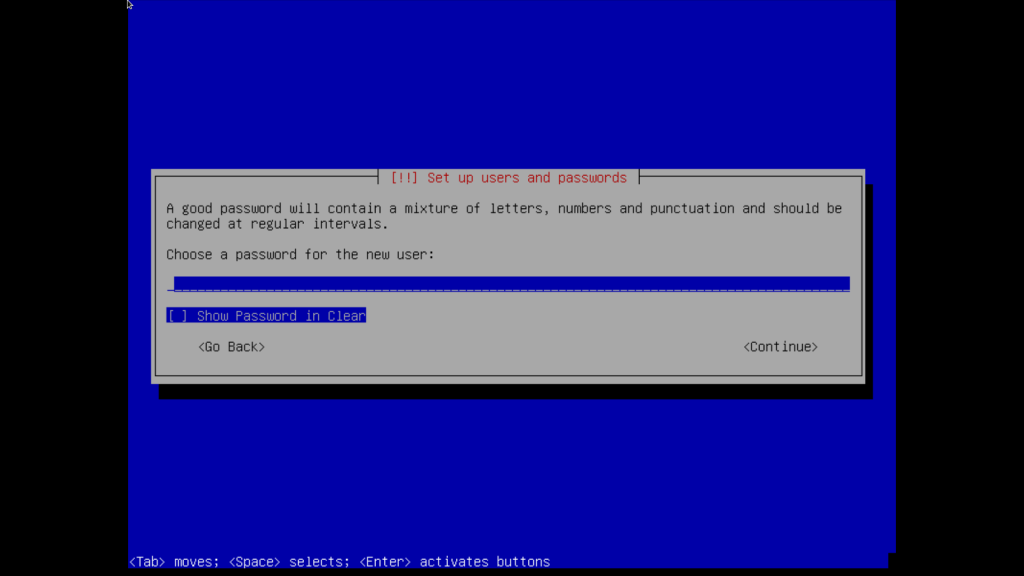
- Next, enter the full name of your default user, then the user name. They can both be the same, just note that the username can’t have any capital letters. Then choose a password.
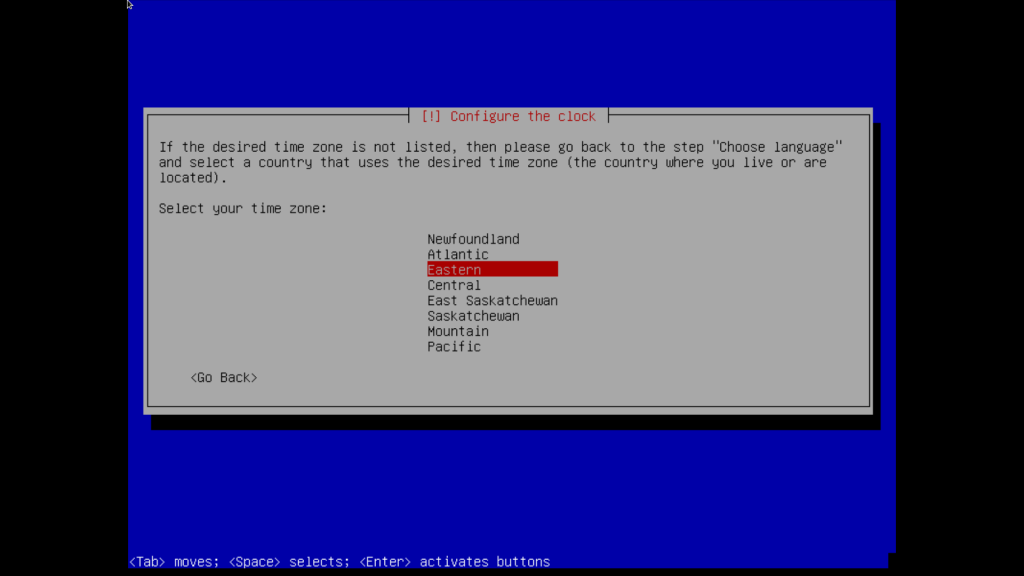
- Configuring the clock. Simply select your time zone.
- The installer will load additional components and load the partitioner.
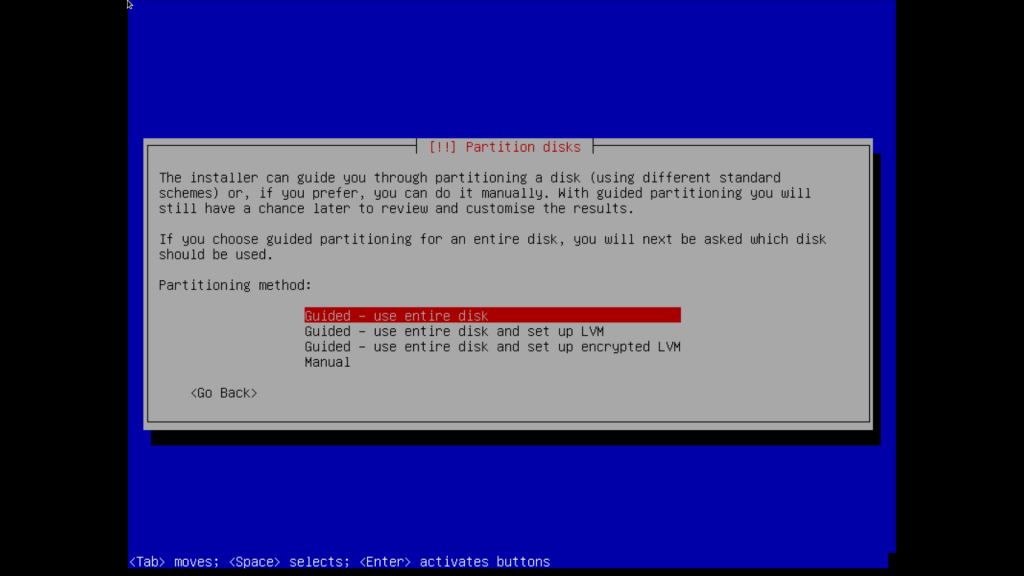
- Partitioning drives. I’m a strong proponent of manual partitioning, with a boot, swap, root and home partition scheme. However, because this is your first time, I advise selecting the “Guided – use entire disk” option. I’ve only used it once, but if I’m not completely full of crap, you’ll be given the choice of having separate partitions. When done and asked to write to disk, select yes, remembering that this will wipe your device.

- The main system will be installed. How long it takes depends on your internet connection’s speed.
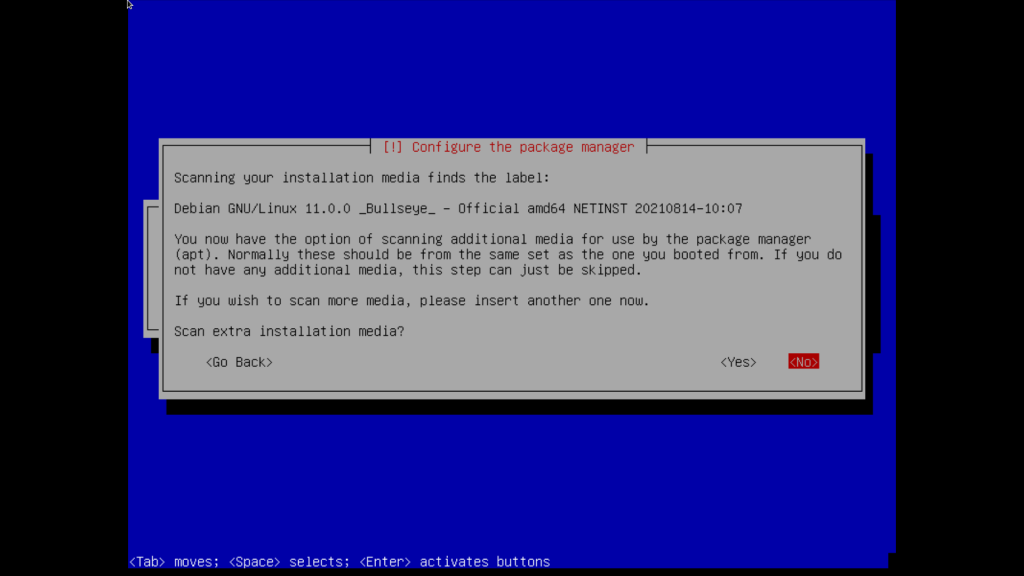
- Configuring the package manager. Select no when asked to scan extra installation media.
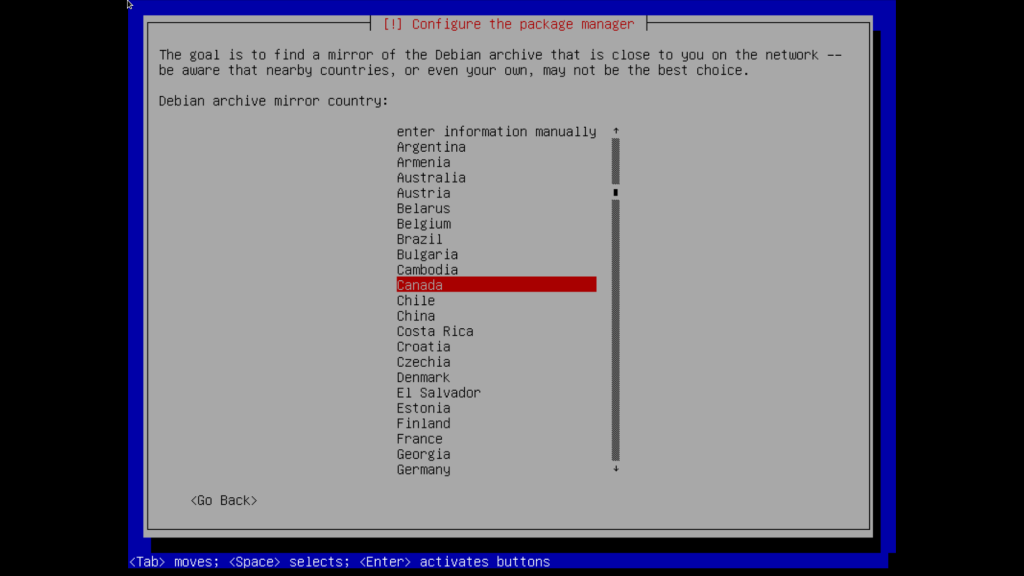
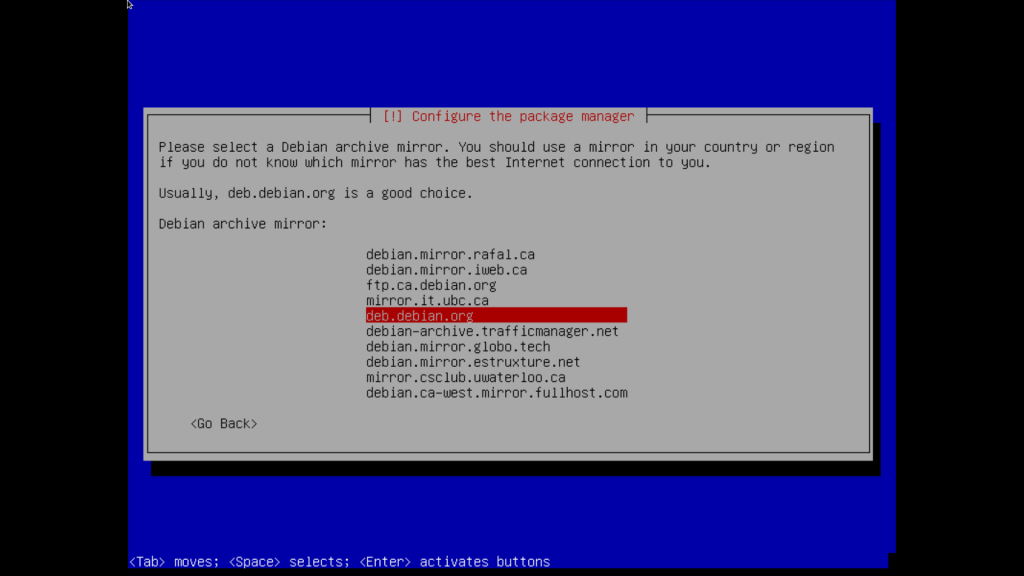
- Choose your apt mirror by first selecting your location then the mirror url. You can keep the default mirror if you want.
- Leave the http proxy blank.
- Then let the installer configure apt.
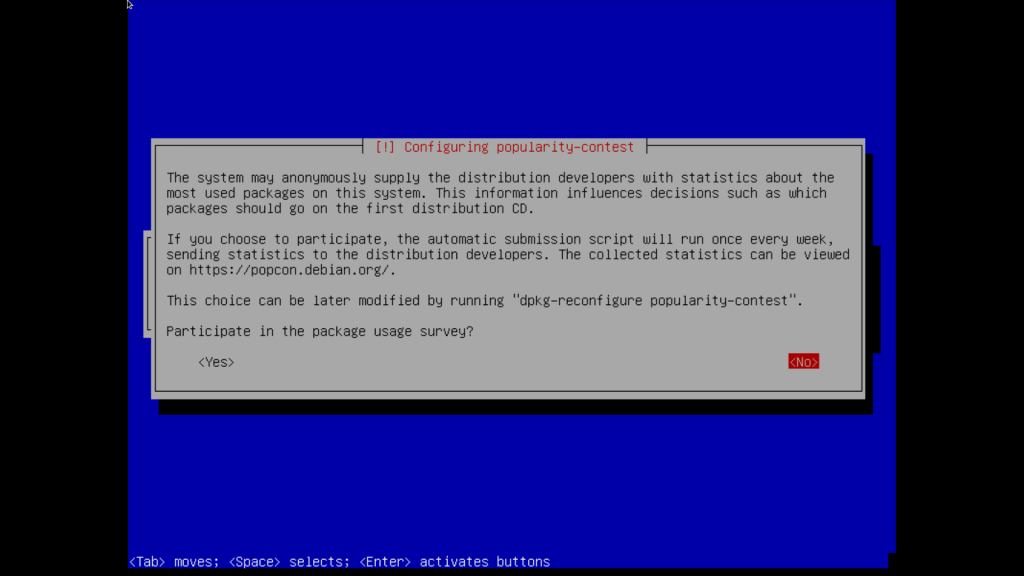
- You will be asked if you want to setup popcon. Selecting yes will send Debian some anonymous statistics weekly to help with development. What info would be sent can be reviewed at https://popcon.debian.org and it’s up to you to decide if you want to or not.
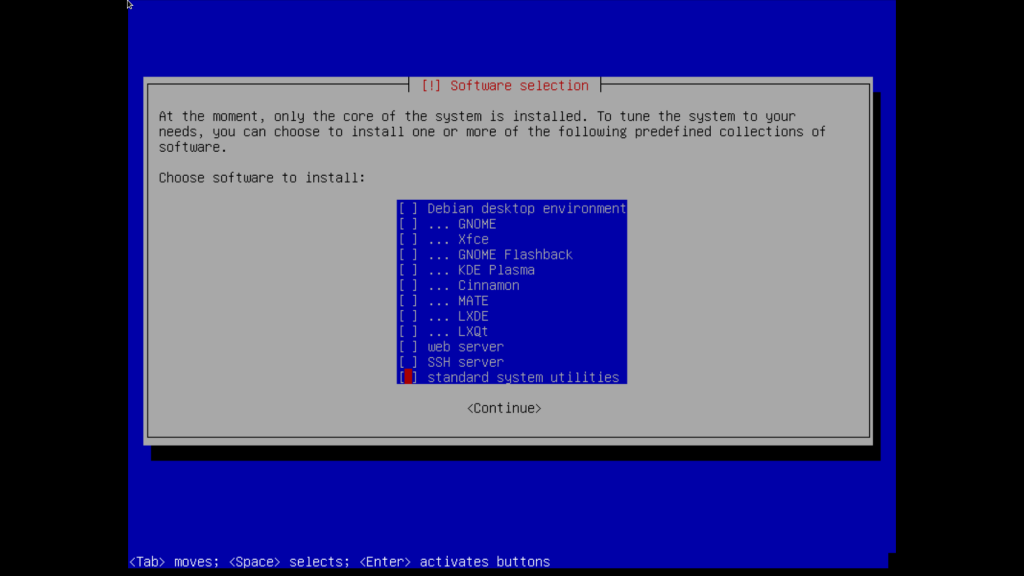
- Next, the important tasksel. This is where you choose some software (Desktop Environment, especially) to be installed by default, using the space key to select or deselect an item. I personally deselect everything and install what I want later. If you’re not comfortable with that yet, you can select whatever Desktop Environment you want (I recommend either LXDE or Xfce). Make sure you don’t select the “Debian desktop environment” if you don’t want gnome.
- Everything will be installed.
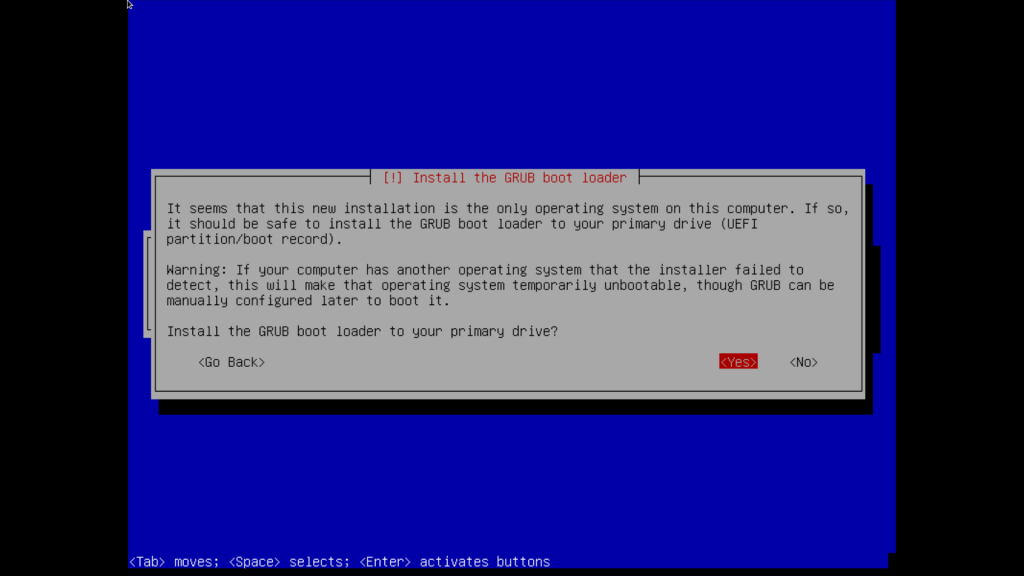
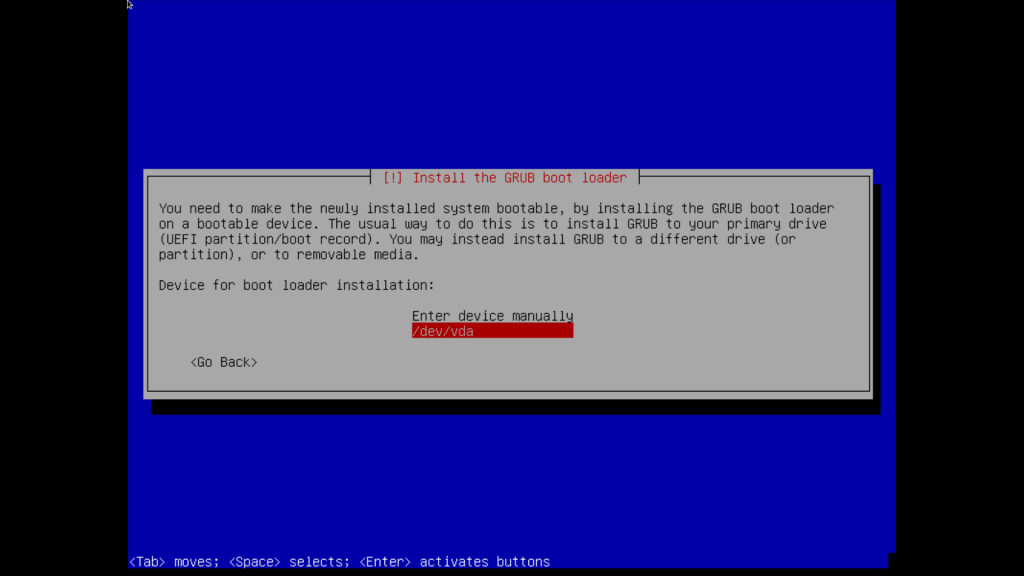
- This may or may not show up. With guided partitioning and when installing on UEFI systems, it most definitely won’t. For those who see this one, simply select yes, then select the device where Debian is being installed.
- The bootloader will be installed and the installer will finish doing its thing. After which you’ll be prompted to reboot, and it’s done.
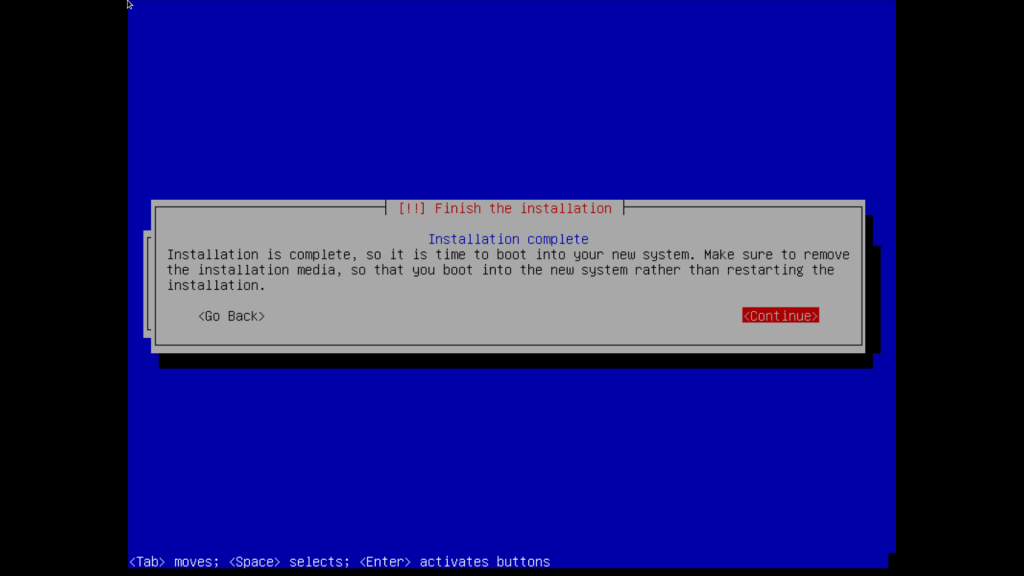
- As your computer reboots, you can remove the flash drive, and when rebooted, you’ll be met with a basic cli system.

As you can see, the process is pretty simple, and when you’re used to it, takes less than 5 minutes (I timed my last install in a VM to about 4 minutes and 36 seconds). At this point, login and start installing whatever you want.
Tip: the first thing you should install is ufw (the uncomplicated firewall). Install and enable with the following commands: sudo apt install ufw and sudo ufw enable
And that’s it.
## Visual Guide
The bellow video demonstrates the process in action.
Relevant posts:
* The Simplest Way of Using the Latest Firefox on Debian
* Debian: Using ifup/ifdown for Network Connections
